Your Virtual Staging Looks Fake? Here's Why
Discover why virtual staging looks fake due to poor photos. Learn essential photography tips for lighting, angles, and resolution to get photorealistic
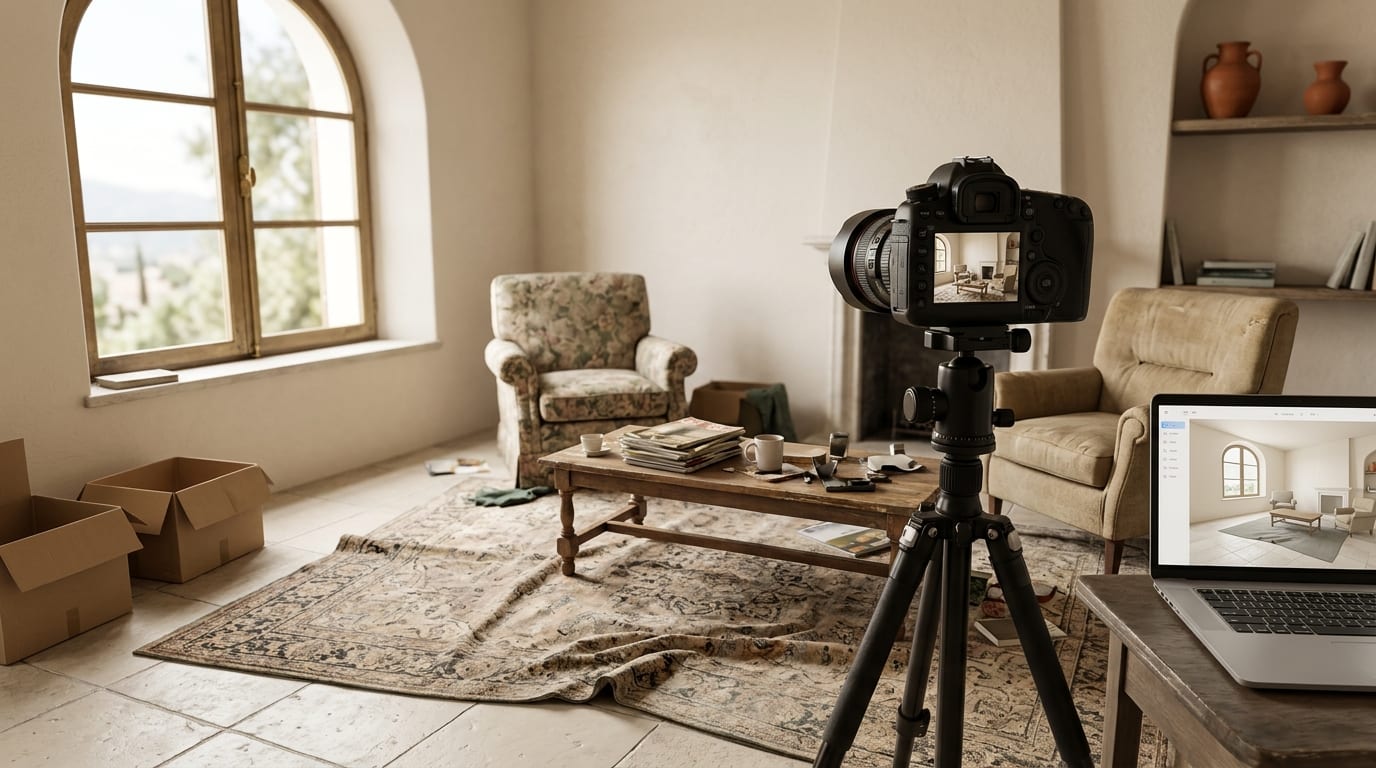
Your virtual staging looks fake because the source photograph is flawed. Mismatched lighting, distorted angles, and low resolution are the primary culprits, forcing even the best software to produce unrealistic results. The fix isn't better software—it's a better source photo.
This guide provides the exact photography tips you need to capture rooms perfectly, ensuring your virtual staging is indistinguishable from reality.
The Core Problem: Garbage In, Garbage Out
Photorealistic virtual staging, especially with advanced AI, depends entirely on the quality of the input image. The software analyzes pixels to understand perspective, light sources, and depth. When the source photo is weak, the staged result inherits those flaws.
Common reasons why virtual staging looks fake include:
- Mismatched Lighting: The most common mistake. If your photo has harsh shadows from a ceiling light and soft daylight from a window, the AI has to guess where to place shadows for the virtual furniture. The result is floating sofas and chairs that look pasted on.
- Distorted Angles: Photos taken with a wide-angle lens (like on many smartphones) or from an awkward height can warp the room's perspective. Placing perfectly rendered 3D furniture into a distorted room creates an uncanny, fake look.
- Low Resolution: A blurry, pixelated source image provides no sharp lines or clear textures for the staging software to work with. The final image will be soft, unprofessional, and obviously edited.
How to Take Photos for Photorealistic Virtual Staging
Follow this step-by-step playbook to create the perfect canvas for virtual staging. These virtual staging photography tips ensure the final result is seamless and realistic.
Step 1: Prepare the Room
Before you touch your camera, prepare the space. A clean, empty room is essential.
- Declutter Completely: Remove all furniture, personal items, and clutter.
- Clean Surfaces: Wipe down floors, windows, and any remaining surfaces.
- Maximize Natural Light: Open all blinds and curtains. The goal is to flood the room with as much soft, natural light as possible.
Step 2: Use the Right Gear and Settings
While a modern smartphone can work in a pinch, a DSLR or mirrorless camera on a tripod will always deliver superior results.
- Use a Tripod: This is non-negotiable. It eliminates camera shake, ensuring a crisp, sharp image. It also allows you to use a lower ISO to reduce grain.
- Camera Position: Set the tripod to chest height (around 1.2-1.5 meters or 4-5 feet). This mimics a natural eye-level view and minimizes perspective distortion.
- Keep it Level: Use a bubble level or your camera's built-in level guide to ensure the camera is perfectly horizontal. Tilted photos are a primary cause of distortion.
- Aperture: Set your aperture to f/8 or f/11. This provides a deep depth of field, keeping both the foreground and background of the room in sharp focus.
- ISO: Set your ISO to the lowest possible setting (e.g., 100 or 200) to avoid digital noise or graininess.
Step 3: Master the Lighting
Lighting is the single most important factor for realism.
- Turn Off All Artificial Lights: Interior lights (lamps, ceiling fixtures) cast a yellow or orange hue that clashes with the cool, blue tones of daylight. This mixed lighting is impossible for staging software to reconcile. Use natural light only.
- Shoot at the Right Time: The best time to shoot is typically mid-morning or mid-afternoon on a bright, slightly overcast day. This provides bright, diffuse light without harsh shadows.
Step 4: Perfect Your Composition
How you frame the shot determines the final look and feel.
- Shoot from a Corner: Stand in a corner of the room and shoot towards the opposite corner. This technique captures as much of the room as possible in a single shot and creates a sense of depth and space.
- Capture Multiple Angles: Take shots from at least two different corners of every main room to provide options for staging.
- Export in High Resolution: Save your final images as high-quality JPEGs. A resolution of at least 4000 pixels on the longest edge is ideal.
Staging Solutions Compared: Where AI Excels
With a high-quality source photo, the right tool can deliver incredible results instantly. An AI platform like GetRestage leverages your great photography to produce photorealistic staging at a fraction of the cost and time of traditional methods.
| Feature | Physical Staging | Human Virtual Staging | GetRestage (AI) |
|---|---|---|---|
| Cost | €500 - €5,000+ per project | €15 - €40+ per photo | ~€0.20 - €0.75 per photo |
| Turnaround | Days to weeks | 24-72 hours | Under 30 seconds |
| Revisions | Costly and slow | Slow, often with extra fees | Instant and included |
| Consistency | High | Varies by artist | Perfectly consistent |
Using a tool like GetRestage with a properly shot photo solves the realism problem while saving you significant time and money. For the cost of one human-staged photo, you can stage an entire portfolio of listings.
Frequently Asked Questions
What is the best resolution for virtual staging photos?
Aim for a resolution of at least 4000 pixels on the longest side. While a minimum of 1920px can work, higher resolution provides more detail for the AI to work with, resulting in sharper, more realistic furniture and textures in the final image.
Can you virtually stage a photo taken with a phone?
Yes, but with caution. Use a modern smartphone, shoot in bright, natural light, and manually ensure the phone is perfectly level. Avoid using the ultra-wide-angle lens, as it creates significant barrel distortion that makes staging look fake and warped.
How do you make AI staging look real?
The key is the source photo. A sharp, high-resolution image taken on a tripod with only natural light and from a level, chest-height position gives the AI a perfect, distortion-free canvas. This eliminates 99% of the issues that cause fake-looking results.
Why does lighting in virtual staging look wrong?
This happens when the source photo has mixed lighting (e.g., sunlight from a window and a yellow lamp). The AI struggles to match virtual shadows to two different light sources and color temperatures. Turning off all interior lights solves this problem completely.
Next Steps
Stop blaming the software for fake-looking virtual staging. The power to create photorealistic results is in your hands, and it starts with taking the right photo. By mastering lighting, angles, and composition, you provide the perfect foundation for stunning, believable results.
Ready to see the difference a great photo makes? Upload your properly shot images to GetRestage and get photorealistic staging in seconds. Sign up and start staging today.
Next step
Stage your next listing with Restage.